
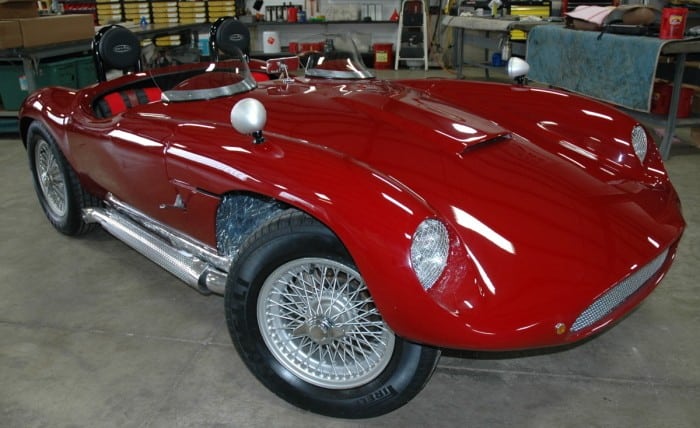
 Fiberglass repair is not a job for the timid. It is a job that takes a great set of know-how and skills. We really do suggest that you consider seeking out the help of professionals. We are writing this article in the hopes that we can lend a little advice to those that will ultimately try to repair the fiberglass on their classic car themselves.
We mention products below that we are comfortable working with for fiberglass repairs. Since this article is a basic “How To” article for fiberglass repair, we highly suggest that you thoroughly read all the instructions for using the resins, primers ad other materials necessary to complete the job.
Without a doubt, the most important step in fiberglass repair is preparing the surface that you will be working on. You must make sure that you grind down the fiberglass deep enough to expose the fiberglass mat below the surface. You will need to lay down 3 to 4 layers of a fiberglass repair resin by hand to build the fiberglass back up. You need to start at the fiberglass mat so it can properly adhere to the original fiberglass. Be sure to carefully work out all air bubbles with a brush for each layer you apply. Use a course 36 grit sandpaper to help you form and shape the the fiberglass back into the basic shape. You will then finish this part of the process off by using the resin based filler and then sanding it down with a fine 320 git sandpaper.
Next apply a catalyzed high build polyester primer (we prefer Slick Sand produced by Evercoat), to the repaired area and be sure to cover at least one foot beyond the repair. After the entire area has dried you should block the repair using a 150 grit sandpaper to begin with and finish off with a 320 grit sandpaper to help feather the repair area back into the lines of the body. Be extremely careful not to sand through the polyester primer! If you mistakenly do sand through the primer you need to apply another coat of the Slick Sand poly primer and then block sand it again.
After you are satisfied with your polymer primer application you need to apply a 2k primer (a.k.a urethane primer). Eastwood makes a great 2K primer. After the 2K primer drys you need to use a wet sand to even out the surface. We suggest using a 500 grit wet sandpaper for this step. Again, be absolutely sure you do not sand through the seal on the repair area.
Finally you will need to apply a sealer to the entire repair area. A great option for this is to use PPG Global Sealer. Choose a color best suited to your final top coat color to make sure it doesn’t clash with any paint. The sealer acts as a final layer of protectant by stopping shrinking between the other layers used in the repair. It also helps stop paint from lifting at the feathered edges of the repair area.
The greatest piece of advice we can lend is not to be too frugal when selecting the materials for this project. You will certainly get what you pay for. If you use quality products, follow all instructions and take your time then there is a good chance that you can make this repair yourself. Always remember that poor bodywork and paint are usually the most costly mistakes to repair.